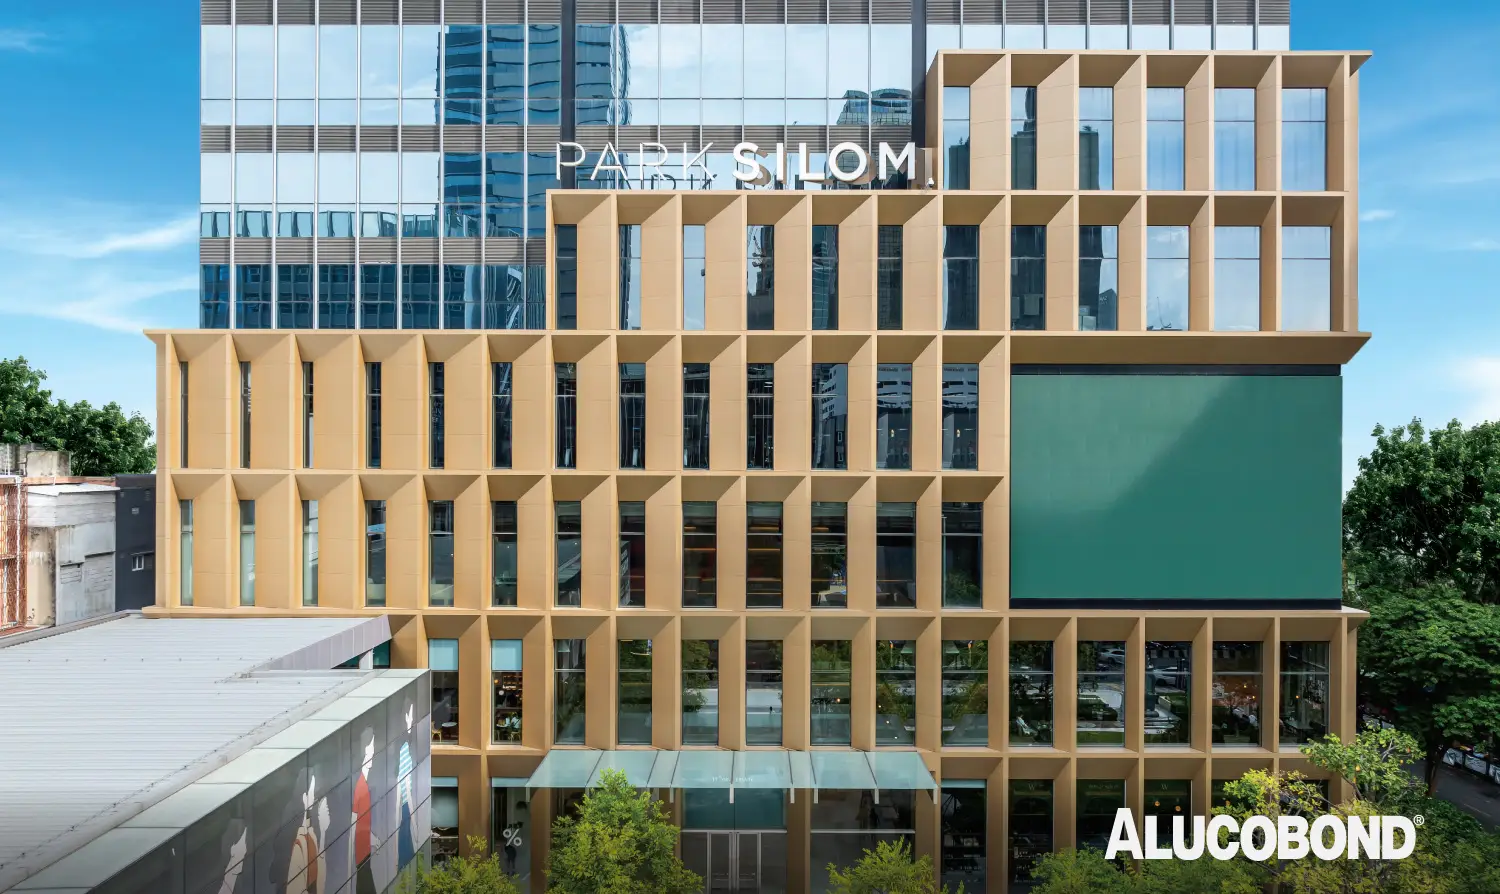
Modern architecture demands materials that are both functional and visually appealing. ACP panels, also known as Aluminium Composite Panels, have emerged as a preferred choice for cladding, facades, signage and interior design because of their lightweight, versatility and aesthetic appeal.
However, achieving a perfect finish depends not only on the quality of materials used but also on the ACP sheet installation process. A precise ACP paneling work ensures the structure remains safe, durable and visually consistent.
This guide takes you through the professional approach to aluminium composite panel installation, including essential ACP sheet fixing details, recommended tools and other best practices.
Understanding ACP Panels
Before moving to the installation process, it’s important to understand what makes ACP panels such a popular architectural material.
Each panel consists of two aluminium cover sheets bonded to a non-aluminium core which is often polyethylene (PE) or a fire retardant (FR) mineral-filled core. This combination gives the panels exceptional flatness, rigidity and durability.
Premium products like ALUCOBOND® are engineered for superior weather resistance, UV stability and long-term colour retention. Their lightweight yet robust structure allows for easy ACP paneling work in both exterior and interior applications.
Tools and Materials Required
Before you begin, ensure you have the right tools and materials to execute precise ACP sheet installation.
| Tools & Materials | |
|---|---|
| Tools | Materials |
| Measuring tape and spirit level Circular saw blade / CNC machine Drilling machine Rivet/screw gun |
ACP panels Aluminium sub-frame Fasteners and rivets Flashings and corner beads Cleat angle, aluminium profiles and support framework |
Having the correct set of tools ensures efficiency, accuracy and professional results throughout the ACP fixing detail process.
Step 1: Site Preparation
The success of any ACP sheet installation begins with a clean, stable and accurate base structure.
- Verify alignment and plumb of the wall or frame.
- Remove any debris or dust from the surface.
- Check for uneven surfaces that may affect panel alignment.
- Ensure all structural members are strong enough to support the ACP panels.
Proper site preparation helps prevent misalignment during the aluminium composite panel installation process and ensures long-term stability.
Step 2: Measuring and Marking
Accuracy in measurement and marking is the key to smooth ACP fixing detail execution.
- Use the project drawings to mark exact panel locations.
- Include allowances for thermal expansion, typically 5–10 mm between panels.
- Double-check all measurements before cutting or drilling.
Precision in this stage minimizes rework and wastage, especially when executing large-scale ACP paneling work such as facades or soffits.
Step 3: Preparing the Sub-frame
The sub-frame provides the structural base for mounting ACP panels. It is typically made of aluminium channels or galvanized steel items.
- Install vertical and horizontal members according to the layout.
- Maintain a uniform spacing (generally 600 mm centre-to-centre/also depends on the design and the layout).
- Ensure the sub-frame is leveled and securely anchored to the main structure.
A well-designed sub-frame is critical for correct load transfer and alignment, impacting both the durability and appearance of the aluminium composite panel installation.
Step 4: Cutting and Grooving Panels
Panels must be cut and grooved with precision to ensure clean edges and accurate folding.
- Use a circular saw blade/ CNC machine.
- Perform V-grooving on the reverse side where folding is required. For a 4 mm thick ACP panel, typically a 3.2 mm deep groove is routed, leaving approximately 0.8 mm of material to maintain the outer surface integrity.
- Avoid damaging the outer aluminium skin or coating during cutting.
Proper cutting methods protect the surface finish of the ACP panels and make the ACP sheet fixing detail process smoother.
Step 5: Drilling and Fastening
Fastening is a critical part of ACP sheet installation, as it determines panel stability and resistance to wind loads.
- Drill holes with a margin for thermal expansion.
- Use corrosion-resistant rivets or screws for fixing.
- For visible fixing, maintain consistent alignment for a neat look.
- For concealed fixing systems, ensure cleats and hooks are precisely aligned.
Following the correct ACP fixing details ensures that panels can expand and contract naturally without causing deformation or cracking.
Step 6: Inspection and Cleaning
The final step in aluminium composite panel installation involves a thorough inspection:
- Immediately remove the protective film from the surface of the panel after installation.
- Check for surface scratches or misalignment.
- Verify that all fasteners are tight and joints properly sealed.
- The surfaces should be cleaned either manually using a soft brush or by means of a high-pressure cleaner (max. 50 bar) with clean water. If necessary, a mild cleaning agent (pH 6-7) may be added, up to max. 10%.
A final inspection ensures the ACP panels not only look perfect but also meet all performance requirements.
Pro Tips for Professional ACP Paneling Work
- Follow manufacturer guidelines: Always refer to the specific instructions provided by the ACP panels manufacturer, such as ALUCOBOND®, for detailed ACP sheet fixing details.
- Account for thermal movement: Aluminium expands with temperature changes. Hence, ensure adequate expansion joints.
- Avoid galvanic corrosion: Use compatible metals and isolate dissimilar materials when necessary.
- Maintain safety standards: Wear protective gear when cutting or installing ACP sheets.
Attention to detail and adherence to best practices ensure a flawless and long-lasting facade.
Common Mistakes to Avoid
Even skilled installers can encounter challenges during ACP sheet installation. Avoid these common errors:
- Neglecting thermal expansion gaps
- Over-tightening screws or rivets
- Improper handling leading to panel dents or scratches
- Failing to maintain alignment during ACP fixing detail work
- Improper method for folding the sheet after routing, such as hammering
- Usage of harsh chemicals/detergents for cleaning the panel surface
- Improper storage of sheets/tray panels at the construction site
- Using worn-out tools for fabrication
Avoiding these mistakes enhances the aesthetic and structural performance of the aluminium composite panel.
Maintenance Tips for ACP Panels
Once installed, ACP panels require minimal maintenance.
- Clean periodically with a mild detergent (pH 6-7 may be added, up to max. 10%) and water as per site requirement.
- Avoid abrasive cleaners or tools that may damage the surface coating.
- Replace damaged panels promptly to maintain appearance and protection.
Following these simple steps ensures your ACP paneling work retains its flair and longevity for years.
Fixing Systems recommended by ALUCBOND®
Tray Panel

This system is one of the most adaptable systems for facade cladding with either vertical or horizontal panel layouts. Individual panels are of a tray/cassette type, with four sides folded and framed with extruded aluminium profile sections. Individual elements are fastened to an extruded aluminium sub-structure by means of aluminium profiled cleats, which in turn are anchored to the wall. The horizontal and vertical joints between the panels are of minimum 15mm width and all rivets, fastening cleats and screws are concealed within it and kept closed by a profiled strip of matching or contrasting colour.
SZ-20

This system assembly is based on the ‘tongue and groove’ principle and is particularly suited for facade cladding with a horizontal panel layout. Individual panels are folded into a tray and the top and bottom sides are grasped by an extruded aluminium section. The ‘Z’ and ‘S’ profiles are riveted to the top and bottom folded edge of the panels respectively, facilitating the ‘tongue and groove’ assembly. The vertical folded edges are riveted with the ‘S’ profiles that facilitate fixing with aluminium profiled cleats to the ‘Hat’ profiled sub-structure. All the rivets, fastening cleats and screws are concealed within the panels.
Hook-on

The ALUCOBOND® Hook-on system is an open-joint rear ventilated system with a vertical panel layout. This system facilitates un-impeded movements of the elements in all aspects, as well as allowing the joint widths between the panels to be as narrow as 6mm.
Easy fiX System

Easy fiX system is a hybrid solution between face fixed panels and cassette solutions. Panels can be installed in horizontal or vertical layout. Easy fiX offers simple clamping without adding rivets, reducing the cassette thickness to 31mm, hence allowing compact design.
Easy fiX tray panels are made with 2 types of milling lines that give 3 types of panels viz., Easy fiX 90°/135°, Easy fiX 35°/135° and Easy fiX 90°/90°.
Conclusion
A flawless ACP sheet installation requires precision, planning and adherence to correct methods. Whether you’re working on a commercial facade or an interior design project, following the right ACP fixing details ensures both aesthetics and durability.
At ALUCOBOND®, we provide high-quality ACP panels engineered for exceptional performance and design versatility. When installed correctly, these panels elevate architecture, creating facades that are safe, sustainable and impressive.
For detailed ACP paneling work specifications and technical assistance, visit contact us today.